
Shipping!
Limited Time Only
Automatically Applied
Mainland UK delivery only

decking & cladding delivered to your door
shop by colour
SHOP BY SIZE
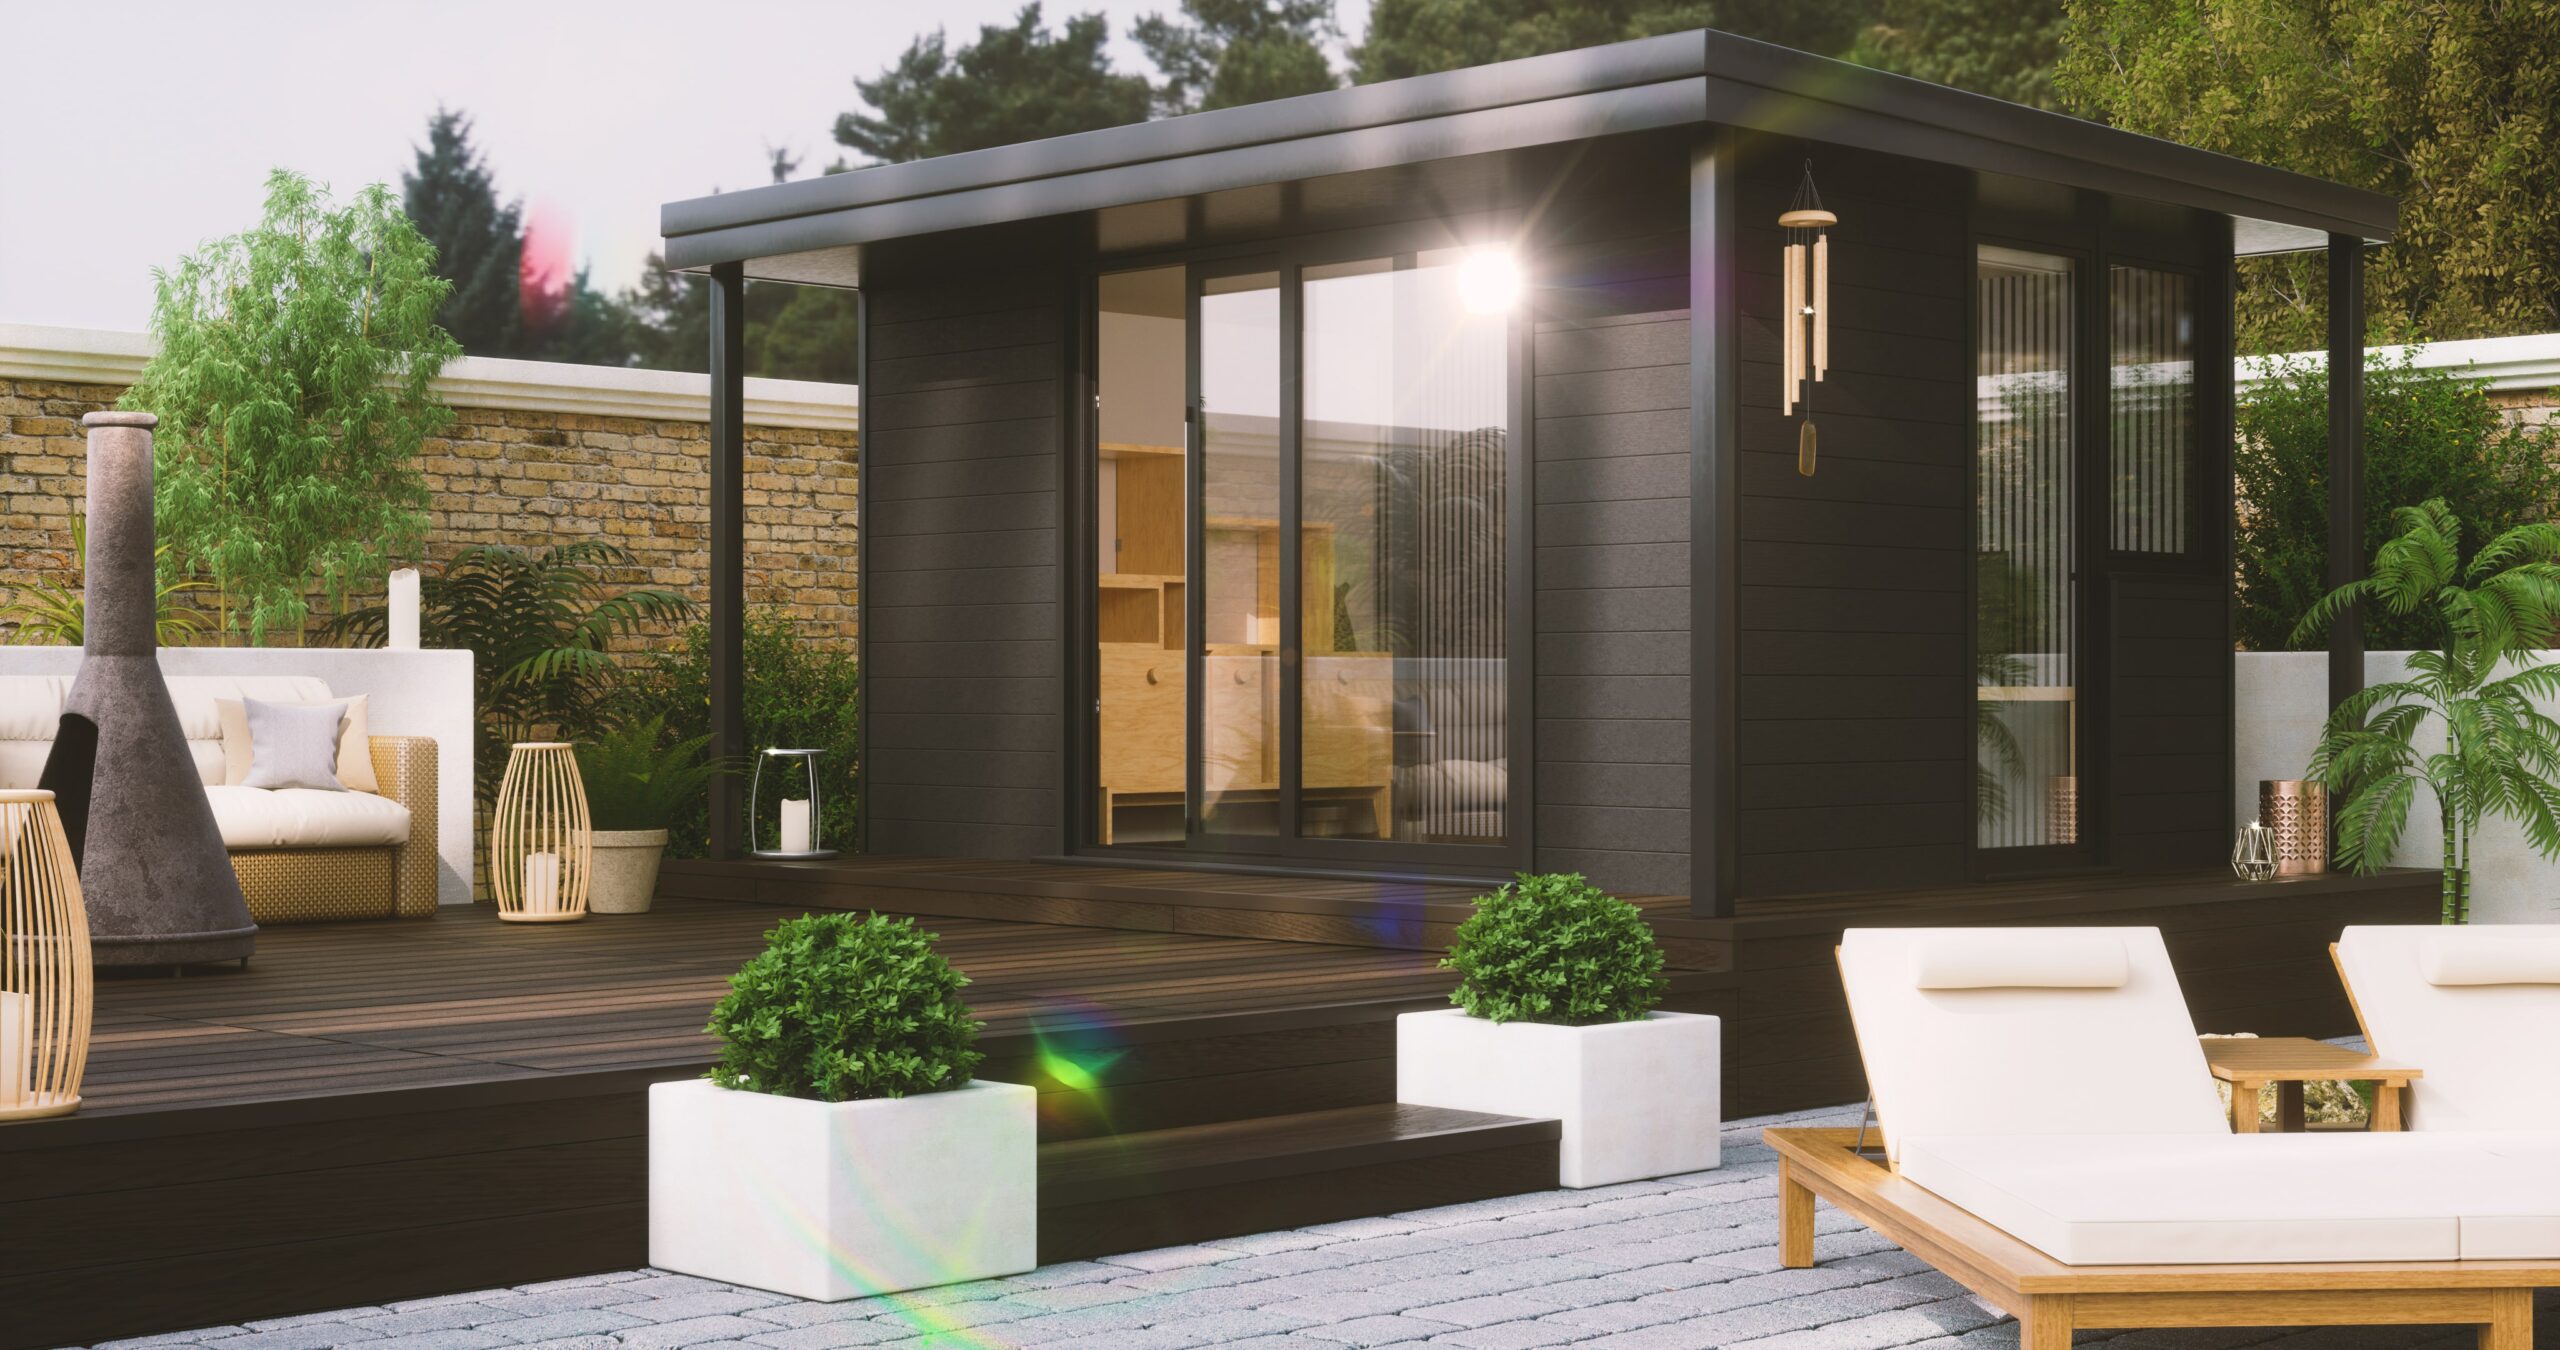
Composite cladding installation is a DIY upgrade that anyone can do. With the right tools, equipment, and materials at hand, you’ll be surprised at how simple and easy it is to give your indoor or outdoor space a new lease of life.
If you’re ready to take on the task, this guide will tell you everything you need to know about how to install composite cladding. No frills, no fuss, just simple instructions for excellent results!
Smooth, stress-free DIY processes always begin with preparation. Before you reach for your tools, it’s essential to plan first for the best results. This includes:
• Measuring the area you’d like to clad: Write down the height and width of the area you’d like to cover. This will tell you how many cladding boards, trims, and fixings you’ll need.
• Choosing your cladding installation method: Will you choose to install your cladding using clips and screws? Or will you choose a strong, heavy-duty adhesive?
We recommend only using the adhesive installation method if you’re working on a very flat, dry wall. If your wall is not flat, opt for the click and screw method. Don’t worry, we’ll talk you through both options in this guide.
• Plan your layout: If you’ve never installed composite cladding before, we recommend choosing either a horizontal or vertical design. They’re simple, effortless, and look amazing.
The materials you’ll need for your composite cladding installation depend on the method you’ve chosen.
One more preparation step, and you’ll be well on your way to installing your composite cladding.
Screw your cladding joists onto the wall vertically. Aim to keep each one 30-60cm apart from the next, depending on the size of your wall. These joists serve as a frame for fixing the cladding onto, and can also help reduce damp and moisture build-up.
Plus, leaving a sufficient distance between each board will allow for any shrinkage or expansion during hot or cold weather.
Double-check that your wall is clean, dry, and completely flat. As a precaution, brush off any loose paint, dust, or debris that could be stuck to the wall. At this point, you may also need to prime the wall (if suggested by the glue manufacturer).
Now you’re ready to start your composite cladding installation. Our best advice would be not to rush. Take your time with the first few boards until you feel more comfortable and confident, and try to maintain a level positioning throughout.
• Attach the starter/end clips provided with your Modern Garden composite cladding boards to the bottom of each joist (not board). These are designed to hold your board in place and keep it even.
• Install cladding trims by screwing them into the joists for a flawless, aesthetic finish. They can also protect your composite cladding boards from weather, moisture, and insects.
• Slot your first board into the starter/end clips, ensuring it sits straight either vertically or horizontally.
• Continue installing the remaining cladding boards and secure them using hidden clips and screws to the joists.
• Draw a straight, level line along the base of the wall to act as a guide. You can use a spirit level to support you with this.
• Glue your cladding trims directly to the wall.
• Apply the adhesive to the back of the first cladding board (not all at once), and press it firmly to the wall, using your guideline as a reference.
• Continue until your composite cladding installation is complete!
At Modern Garden, we like to make it as simple and stress-free as possible for property owners to upgrade their space, and composite cladding is an easy and cost-effective solution.
In our range, we stock the following high-quality cladding products manufactured with over 20+ years of experience behind them:
Take a look at our products, order a sample, or get in touch with our team if you have any questions. We’ll be more than happy to help.
Recommended products
Some home improvements make an instant impact. Composite cladding is an ideal way to conceal your less-than-perfect walls or simply upgrade your home’s facade with a sleek, contemporary appearance. Timber

There are plenty of compelling reasons to remodel your exteriors with external wall cladding and improve your kerb appeal. Installing exterior composite cladding is quick and straightforward, hides unattractive outdoor

Want to make home improvements in 2024, yet still be more frugal with your finances? Then investing in interior composite cladding is where the smart money is at. There’s no

